

5 Fuss-Free Steps for Creating Videos Using Photos!4 min read
Table of Contents
When photos turn into videos
When all of the online world is transitioning towards videos, it may be a little tough for marketers to cope with just photos. Videos garner more attention, are more engaging, and get more results. But they are also much harder to create than just taking photos, right? Wrong – videos can be created with minimum strain for maximum results.

In 2017, more than a trillion images (BI) were captured through phone cameras, and smartphones have taken over our day to day lives, to an extent that there are now 8 times as many picture takers worldwide than there were 10 years ago (Petapixel)!
What do you do with the repository of photos accumulated over time?
Stitching photos together to make a video is a wonderful way of getting the best of both worlds – the results of a video with barely any added effort. It also removes a lot of added expenses – especially from pre-production. There is no need for video cameras, elaborate sets, location scouts, models who both suit the product and can act, or even a detailed storyline. This takes away a lot of pressure from smaller budget projects that may not have the resources for a full-fledged video strategy.
5 Simple steps to turn your pictures into videos!

Whether you use a Mac or Windows-run laptop, both iMovie and Windows Movie Maker provide sufficient options to create an attractive video out of photographs.
Before starting with these steps, all you have to do is open the software and, in the case of iMovie, select a theme for your project.
1. Select photos –
The first step is to select the photographs you want in your movie. In iMovie, you do this by opening the iPhoto Library option, and in Movie Maker, by selecting ‘Add Videos and Photos’. Choosing the photos that represent your product the best is the key at this step.
2. Arranging the timeline –
All the photos selected in the first step get dropped on to the timeline. The next step is arranging the timeline in the order you’d prefer. Thinking from the viewer’s point of view – and arranging the photographs in the order of best impact will give great results.
3. Adding transitions –
Whether you want a simple cut from one photograph to another or fancy transitions for the movement is the decision made here. It can also be a combination of both with bolder transitions for differentiating one part of the video from another and simpler, smoother cuts for photos grouped together.
4. Music and text –
Here is where the embellishments of the video come in. Music and text need to be chosen carefully – they should add to the impact of the video without taking the attention away from the photos. Choosing a non-intrusive music track and minimal text usually work. However, it finally comes down to the theme of your video, and what you are trying to convey through it.
5. Publish –
The final step is reviewing the video before going on to publishing it. The format the movie is saved in is the only major decision that has to be made here. The MPEG-4 Part 14 or MP4 format is most commonly used for videos – but your decision may also be influenced by other factors like where you want to use the video or what works best in the platform it is going to be published in.
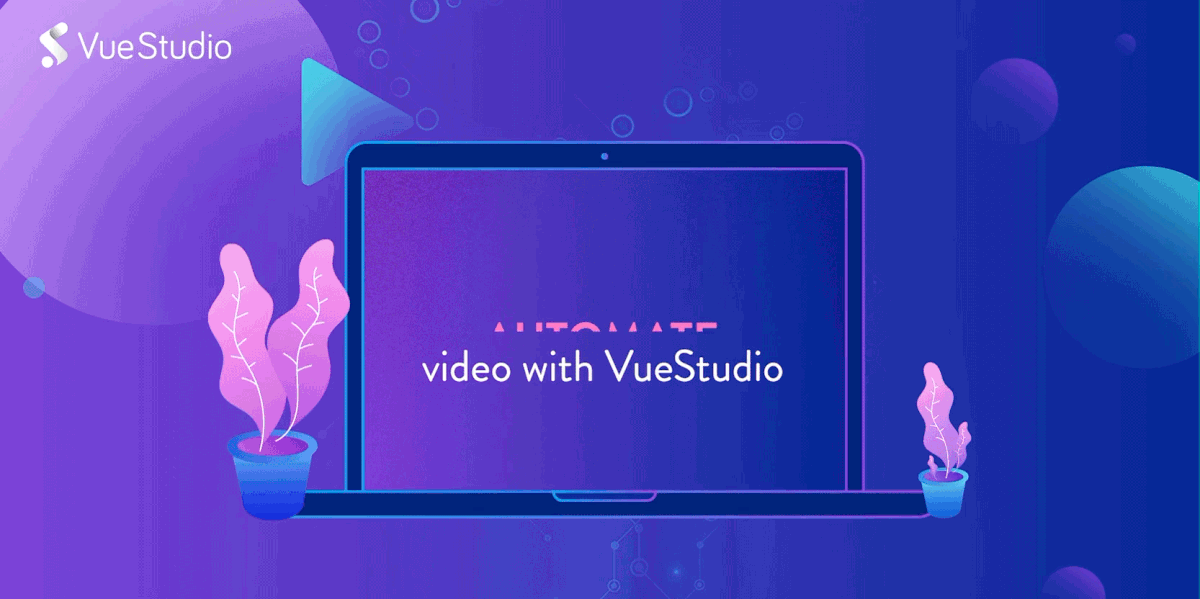
Getting more out of video with VueStudio
Once you have a video in place, the possibilities are endless. Video marketing is one of the more rewarding ways of marketing your product online. But with everyone adopting it, one often needs to come up with ways of getting more returns – or of turning these visual stories into a new channel for revenue altogether. Monetising the video and increasing viewer interaction is the solution VueStudio offers.
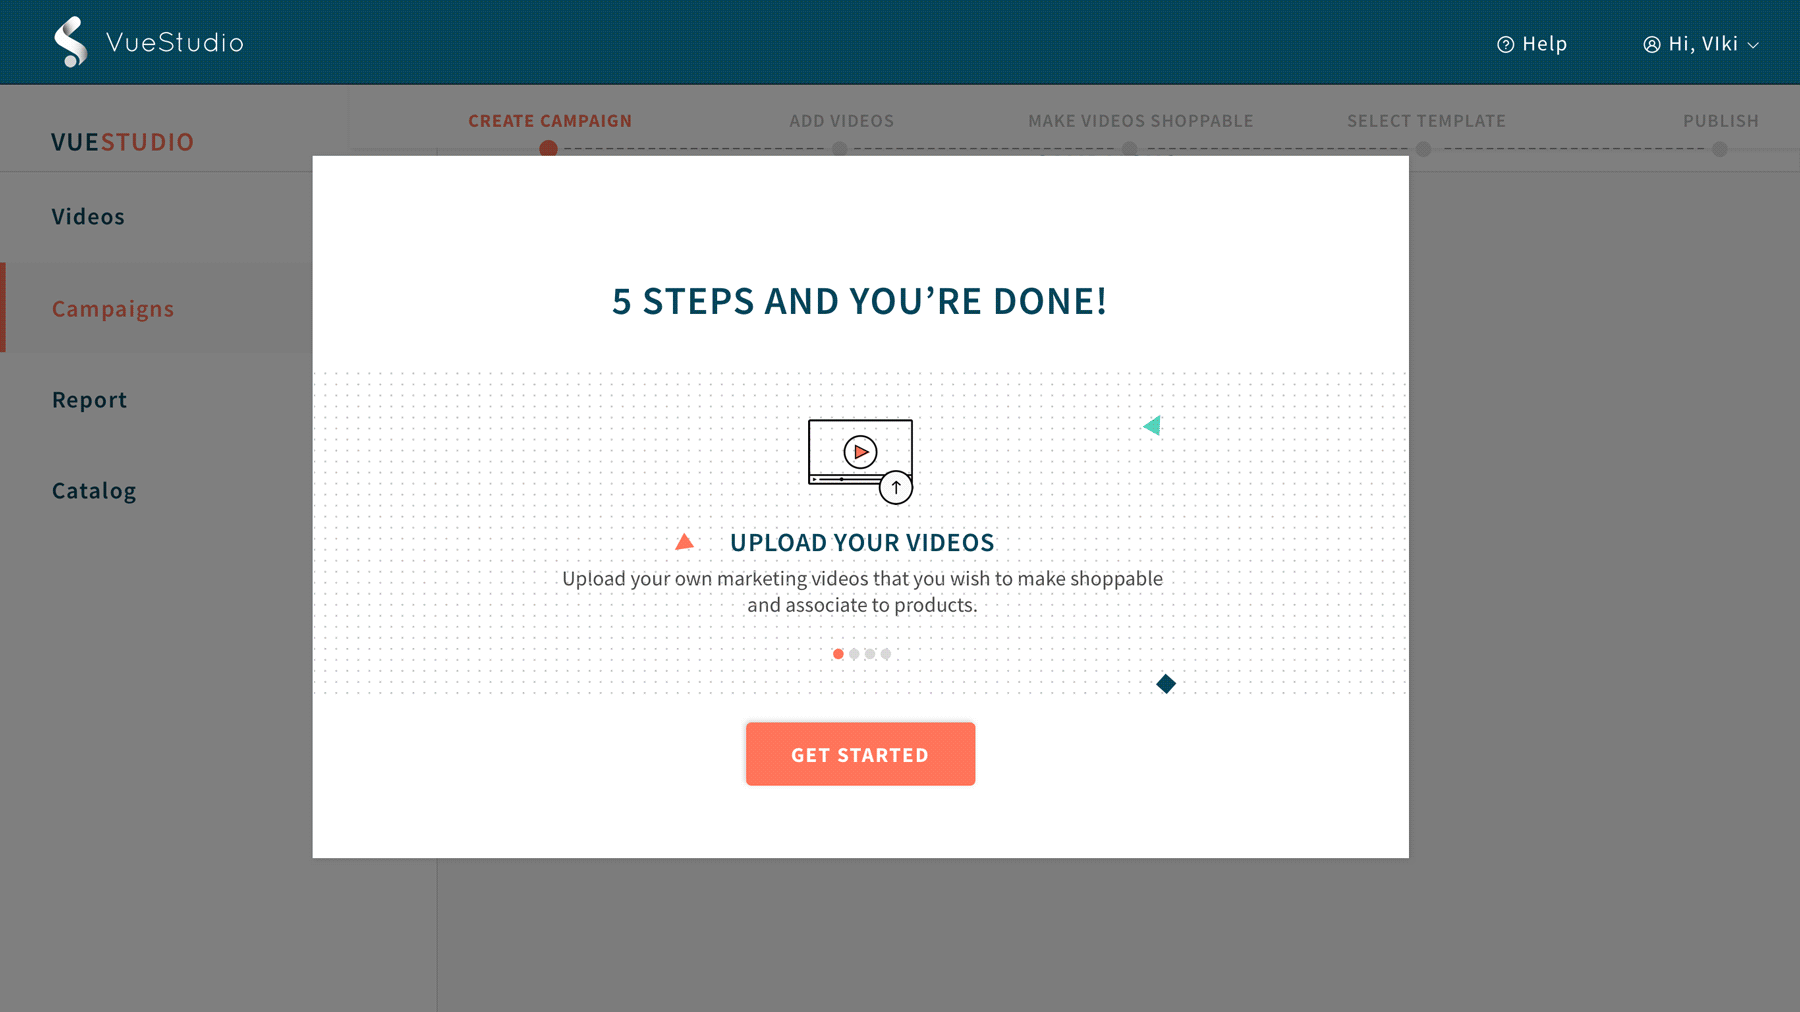
VueStudio is an advanced shoppable video tools for marketers and merchandisers, who want to stay ahead of the curve with videos. It leverages image recognition technology that makes each frame shoppable. VueStudio is easy to use, allows the flexibility for the user to pick and choose frames that need to be made shoppable, and monetizes your videos, how and where you want.
Using Vue.ai’s Image Recognition and Computer Vision technology, VueStudio can make every video shoppable, providing the flexibility to edit, create and design each video based on specific brand requirements. The entire process of converting your video into a shoppable one can be done in five easy steps. VueStudio makes your video a direct revenue platform helping you stay relevant and ahead of the competition.
Getting maximum results with minimum effort has really never been this easy.
To learn more about VueStudio – Read here
To sign up for a free trial – Click here
ABOUT THE AUTHOR